Important: When connecting 2 cameras using USB2.0, you cannot connect to the same USB2.0 root port because of the data bus width restriction. Please connect to a different USB2.0 root port or connect to a USB3.0 port.
How to use 2 cameras simultaneously
 |
 |
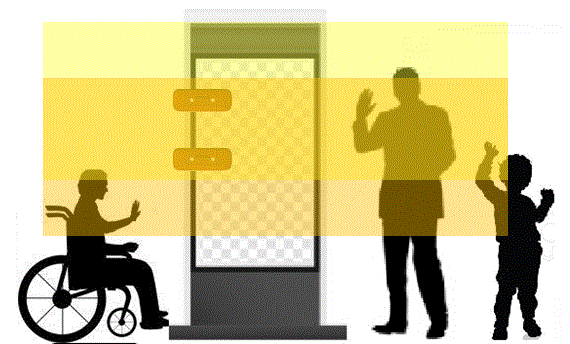
| Exclusive mode By installing 2 cameras facing the same way, your operation can cover a wider area of 2 different height. Only one of the camera will be used for the actual operation. Also check "Settings for touchless operation area" for customization of a portrait style monitor. |
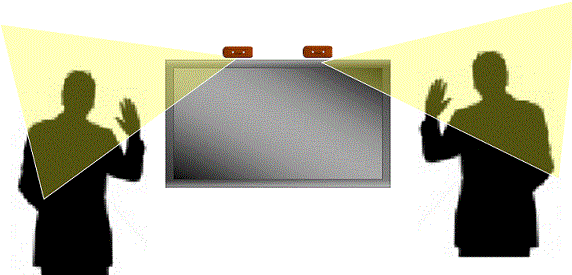
Share mode By setting 2 cameras to 2 different directions, you can share the same screen with another person. Both camera will be used for simultaneous operation. |
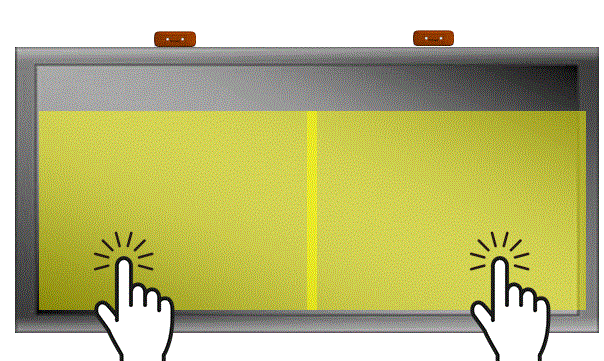
 2 cameras can be used to cover the whole range of a wide display when using virtual touch screen mode.
You can limit the operation to one person using exclusive settings.
Important: You will need a PC with a high performance CPU to connect 2 aeroTAP 3D USB GS cameras and run virtual touch screen mode.
|
|
How to link the secondary aeroTAP
aeroTAP running with the second camera will act as a slave. By using the Startup option, you can make it work together with the aeroTAP you first launched which will act as a master.
| Mode | Start option | Description |
| Share mode | /M | In this mode, you can show both the virtual cursor of the master and the virtual cursor for the slave at the same time. This allows 2 operators to share the screen and operate simultaneously. The actual cursor in the slave device will not move. Only the actual cursor in the master device will move and be controlled. |
| Exclusive mode | /MX | In this mode, you can only show either the virtual cursor of the master or the slave. When operating with the master device, you cannot operate with the slave device. Likewise, when operating with the slave aeroTAP, you cannot operate with the master aeroTAP. The actual cursor in both the master and the slave device will move and be controlled. |
How to launch the secondary aeroTAP (launch as slave)
You can launch the secondary aeroTAP as slave using the /M or /MX option. After it launches, select the second camera and move on.
Example:
aeroTAP /M
How to Exit
You cannot use hotkeys on the secondary aeroTAP. Select aeroTAP from the task tray and select Exit from the menu to exit.
Restrictions
When launching 2 aeroTAP, there will be restrictions mentioned below.